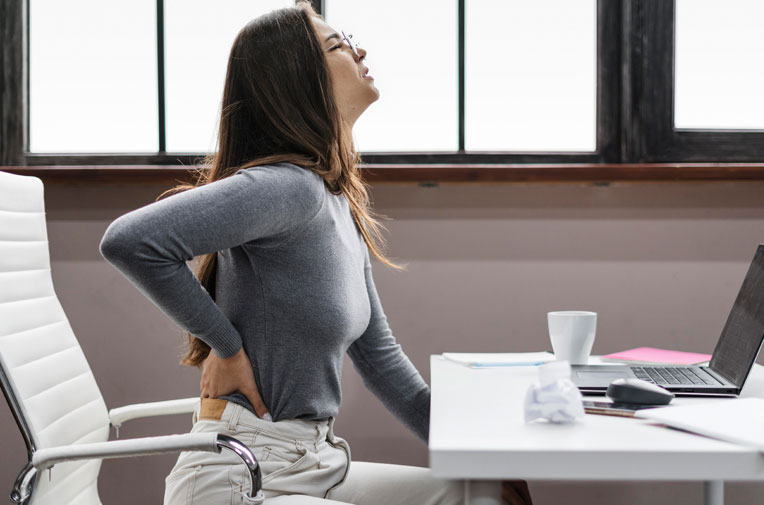
Lower back pain can cause due to many reasons. Some reasons include- Muscles or ligament strain- which can cause due to overuse, repetitive motions, or sudden/uncomfortable movements.
Herniated disc- when the disc in the spine slips out of place. Resulting in discomfort. Degenerative disc disease-when disc that is between the vertebrae can deteriorate over time. Spinal stenosis- narrowing of the spinal cord cause pressure in nerves, causing lower back pain.
Osteoarthritis- because the stiffness in joints can cause pain in the lower back. Osteoporosis- in this condition bones become weak. Scoliosis- in this condition spine is curved to one side causing pain and stiffness.
Lower back discomfort can be effectively managed and treated with yoga. However, it’s crucial to speak with a medical expert to find out if yoga is secure and suitable for your particular situation. These yoga postures could be helpful in reducing lower back pain.
1) Child pose (Balasana)Benefits: Child pose is also called balasana. It has many benefits. Some are like- it stretches the back, hip, and thighs, relaxes the body,
it also improves breathing, it is very helpful in calming the mind.
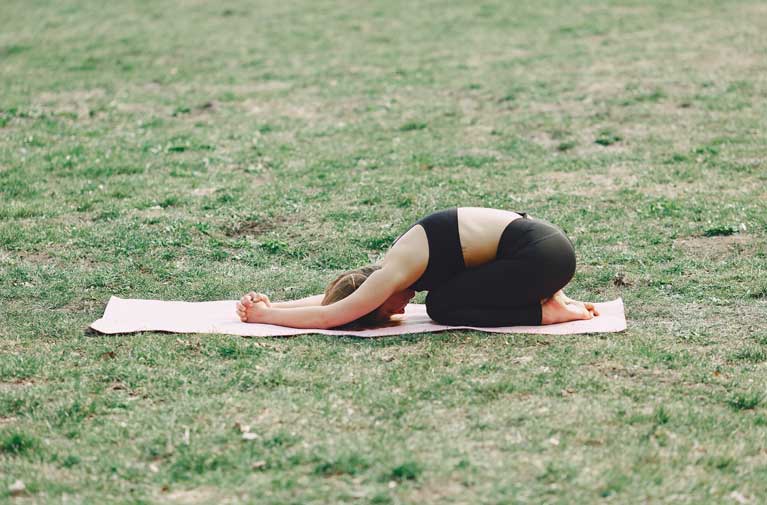
Steps to follow: sit on your knees with your knees directly under your hips and wrists directly under your shoulder. Spread your knees widely apart and converge your big toes. Back off and rest your hips close to your heels. Reach your arms forward, laying your hands on the mat or resting them on a bolster or block. You can tilt your head to one side or place your forehead on the carpet. Stay in the position for a few breaths to give your body time to unwind and let go of stress. To exit the pose, softly roll up to a seated position while gently moving your hands back toward your knees.
2) Cat/Cow Pose (Marjaryasana / Bitilasana)Benefits: some benefits are like – it improves spinal mobility, It also stimulates the digestive system, and relieves stress and tension. It strengthens our cores & promotes spinal health. To obtain the most from the pose, it’s critical to move slowly and pay attention to your breathing.
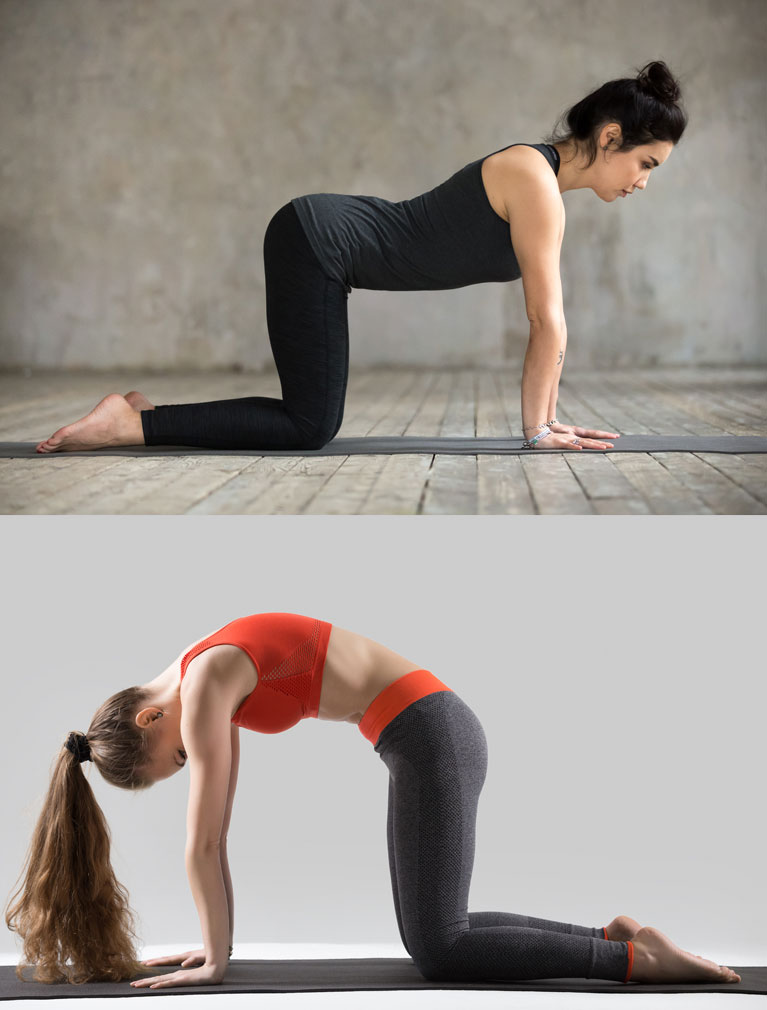
Steps to follow: begin with sitting on your knee then make sure that your wrist is under your shoulder and knee under your hips. Then your spine should be straight and your head in a neutral position. Inhale, then lift your tailbone i.e. end of backbone towards the sky making a curve from the backbone by dropping your belly towards the ground (i.e. cow pose). Exhale, and bend your chin towards your chest and round your spine so that your belly is towards the spine (i.e. cat pose ). Repeat it two to three times by inhaling in a cow pose and exhaling in a cat pose. Focus on your breath.
3) Downward-facing Dog (Adho Mukha Svanasana)Benefits: it stretches the calves, hamstring, and back of the legs, improves the flexibility & motion of the lower body, strengthens the upper body, improves the posture; relaxes and calms the mind & reduces anxiety. Improve blood circulation and Energizes the body.
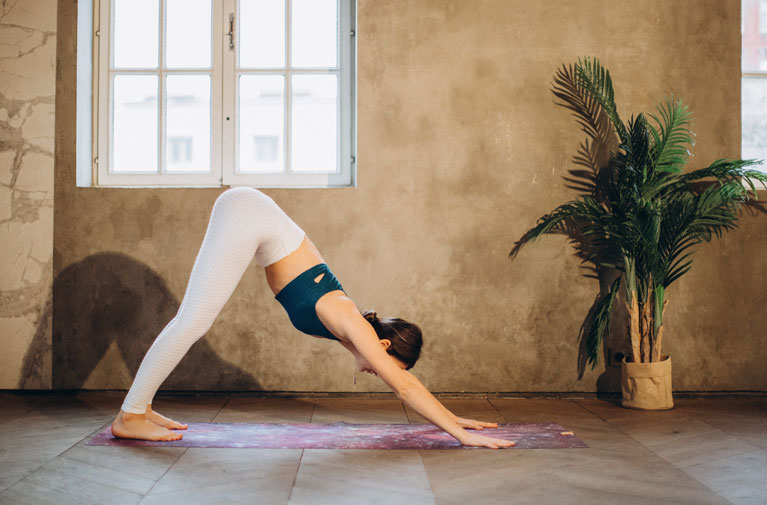
Steps to follow: sit on your knees with your wrist under your shoulder & knees under your hips. Lift your back and hips upward with your arms & legs straight and make an inverted V shape. Press your hand and feet firmly on the ground with your fingers spreading wide. Your tailbone should draw towards the sky and relax your neck and head should hand freely. Hold the pose for a few minutes to release the pose for a few minutes. Return to hands and knees and gradually bring your knees back to the floor to exit the pose. Keep in mind to move slowly and deliberately, and adjust the stance as necessary to suit your unique needs for comfort and safety. For instance, if you have tight hamstrings or wrist problems, you can bend your knees or come onto your forearms. If you require additional support, you can also place blocks or blankets under your hands.
4) Triangle Pose (Trikonasana)Benefits: triangle pose benefits us by stretching the hamstrings and hips, Strengthening the legs and core, Improving balance, Improving digestion, Opening the chest and shoulders, and calming the mind.
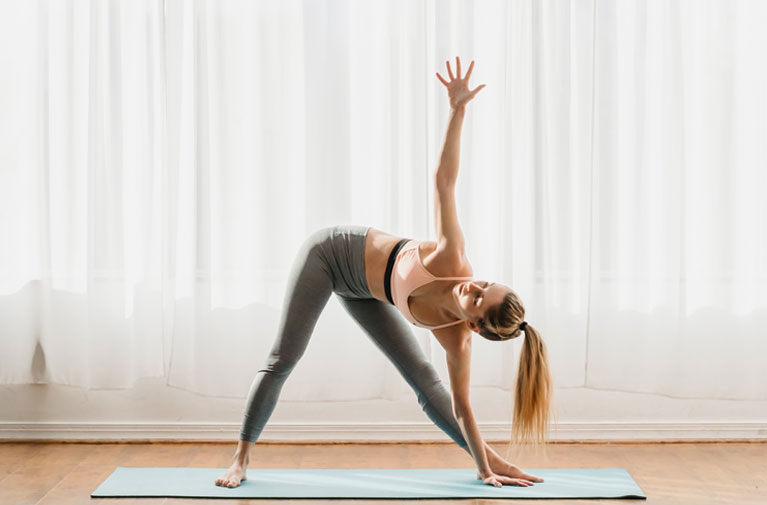
Steps to follow: Standing upright with your feet hip-distance apart and your arms at your sides, start the exercise. Step back about three to four feet with your left foot, then turn it out 45 degrees. Your right foot ought to be pointed directly forward. At shoulder height and parallel to the floor, extend your arms out to the sides. Lengthen your right side body by moving your hips to the right and reaching your right arm forward. Put your right hand on your shin, ankle, or a block with your right arm lowered once you’ve reached your maximum. Lengthen the left side of your body by reaching out your left arm towards the sky. Continually look at your left thumb. Engage your legs and core while applying solid pressure through both feet. Keep your shoulders and chest open. Release the position after taking several long breaths, then switch sides and repeat.
5) Bridge Pose (Setu Bandha Sarvangasna)Benefits: It improves posture and stability overall, stretches the chest and shoulders, and strengthens the back and core muscles. For individuals who spend a lot of time at a desk or slumped over a computer, this can be very helpful. reduces back pain, enhances digestion, calms the mind, and increases circulation.
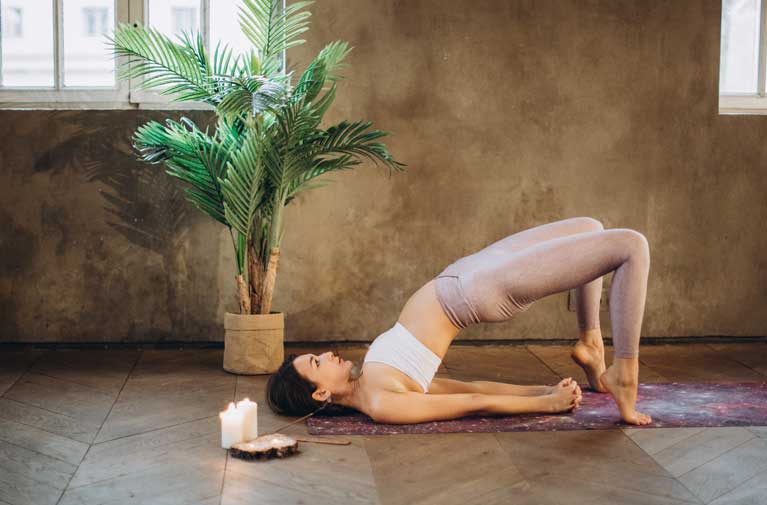
Steps to follow: lie on your back with your palm facing downward, and bend your knees with your feet on the ground. Inhale, and press your feet & palms against the floor and lift your hips upward towards the ceiling. The distance between feet and knees & thighs should be parallel to the floor. Place your fingers together and roll your shoulders beneath. Lengthen your neck and move your shoulders closer together. Hold the position while taking five to ten full breaths. Release your intertwined fingers as you exhale, then roll your spine down one vertebra at a time until your upper back, middle back, and bottom back all touch the floor. After a few breaths in this position, hold the pose for an additional 1-2 times.
6) Cobra pose (bhujangasana)Benefits: It improves spinal flexibility, strengthens the back and core muscles, stretches the chest and shoulders, increases blood flow, stimulates the abdominal organs, and calms the mind. Yoga practitioners of all levels can engage in the beneficial and adaptable Cobra Posture. It is a wonderful supplement to any yoga practice because it can be adjusted to fit varied physical capacities.
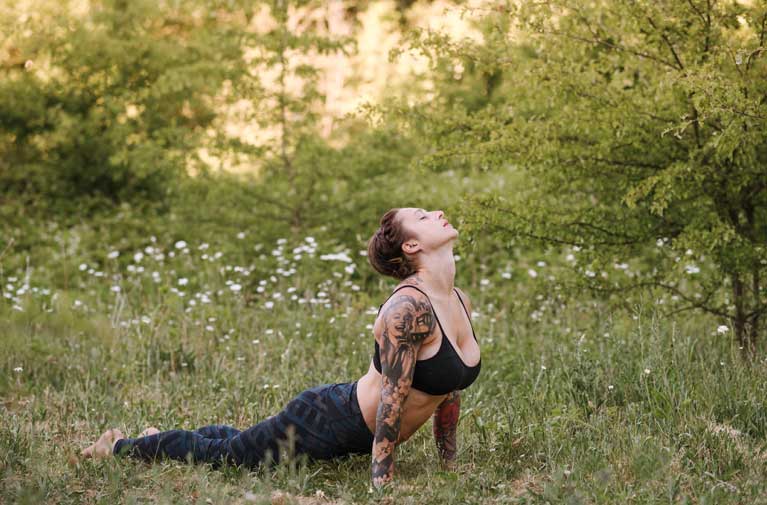
Steps to follow: lie on the yoga mat on your stomach with your palm under your shoulder and your finger spread widely. Inhale, press your palm against the floor and lift your upper body and look upwards remember to keep a gap between your shoulder and face. Lift as much height as you are comfortable in. and make sure that your elbows are bending. Now slowly exhale and lower your upper body back to the mat. repeat it 2-3 times. The lower back muscles can be stretched and strengthened with the aid of these poses, but it’s crucial to perform them carefully and with the correct alignment. Additionally, it’s crucial to pay attention to your body and adjust or avoid any poses that make you hurt or uncomfortable.
